
The renovation steps
I helped out with a stairwell renovation and it was easier than I thought. But don't underestimate the time involved.
I'm on my way to Winterthur, where Karina lives. A few months ago, she and her husband bought a small house on the banks of the Töss. They haven't yet moved in because of the work they have to do. When you look at it, you realise that the building has already seen a lot of life. The bathroom is covered in pink tiles that are not to the taste of the new owners. The kitchen is a mess. And the most common material used? PVC: floors, doors and staircases leading upstairs, it's everywhere.
The staircase will be the focus of all our attention today. Karina and her husband are already well into the job: they've removed the PVC flooring and given it a first sanding. Now it's down to Karina and me to get in on the action, while Hannes looks after the little one who is ill.

To begin, we give the staircase a second sanding. Armed with a scraper, we remove the remnants of glue with a lot of elbow grease. The thermometer outside reads 35 degrees. After barely two minutes, I'm already dripping with sweat. "This should be fun," I thought to myself. Karina goes off to fetch a delta sponge and removes the last imperfections. The first stage is behind us.

Preparation is golden
Then Karina takes care of the sealing while I take care of protecting the steps with tape, which will be covered with a coat of oil at the end. Putting the tape in place is tedious work, but it helps to avoid drips and other accidents. What's more, as it's not my house, I'm going to even more trouble. I don't want to be responsible for paint splashes in the stairwell. As if she'd read my mind, Karina says at that very moment that we mustn't be too demanding on ourselves. "After all, we're not professionals and that's fine. And then if there are paint stains at the end, well, we'll give it another go."

We take an express lunch break while the putty dries. Karina shows me what she's already done in the house so far: knocking down a wall, replacing all the floors, renovating the doors, painting and much more. They've had to call in craftsmen for a few things. "As the house dates back to Methuselah, the kitchen walls were full of asbestos, a job we preferred to have done by a professional," explains Karina. Before knocking down the wall, they consulted a B.T.P. engineer to prevent the whole house collapsing: "It was worth it, because it was a load-bearing wall."
White coat of paint
After regaining our strength, the work continues. The putty is dry, but Karina still has a few details to sort out. The flight of stairs has a gap with a significant difference in height that needs to be evened out not by sanding, but by adding putty. So as not to spend hours waiting for it to dry, I start painting by avoiding the part of the flight that's been filled in. This is an artificial resin-based coating which has the advantage of being ultra-covering and scratch-resistant. Unlike acrylic paint, this is not water-based, but solvent-based: so you have to be careful not to get any on your skin or clothes, as it's hard to get off.

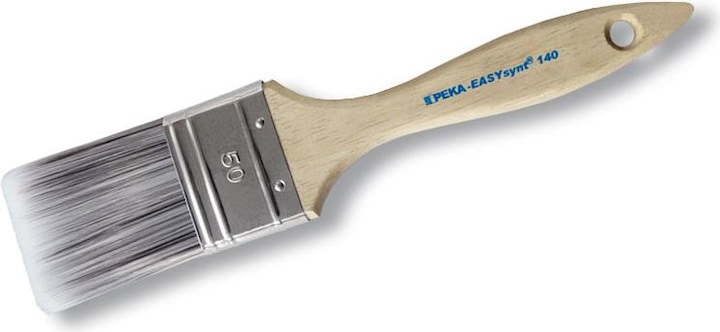
Karina finally joins me in the paint work. She brandishes a brush to clear the corners and I, a roller for the larger surfaces. It's working pretty well. We're keeping our fingers crossed that the masking tape does its job and that the paint doesn't penetrate underneath, as we're not going all out. We didn't protect the side wall, preferring to use a ruler as a means of protection.

And to finish off with a coat of oil
Once everything is nice and dry, we move on to the final step: the oil coat. The hard oil, easily applied with a paint roller, adds a darker touch to the wood of the steps and gives them great resistance to time and dirt.

While the paint dries, we take another look at the photo of the staircase taken before the work on his mobile phone. The result is very pretty. The PVC-covered staircase has been given a facelift and is much brighter and more welcoming. The work - removing the glue, sanding, painting and oiling - isn't particularly difficult, but it does take a bit of time. We're very proud of the result.

My life in a nutshell? On a quest to broaden my horizon. I love discovering and learning new skills and I see a chance to experience something new in everything – be it travelling, reading, cooking, movies or DIY.


