
Rosy times: Do-it-yourself decorative hand soaps
Making your own soap is an art form in itself - and therefore not really my area. Nevertheless, I wanted to tackle a somewhat smaller project that I could manage: rose-scented glycerine hand soaps.
I will almost certainly never master the fine art of soap making. It simply requires too much chemical knowledge, which I will certainly never acquire due to a lack of time and talent. But if, like me, you still want to get a whiff of rosy soap air, you can try your hand at my little experiment.

What you need for this:
- A cutting board
- a knife
- Glycerine soap in solid form
- optional: alcohol spray (70%)
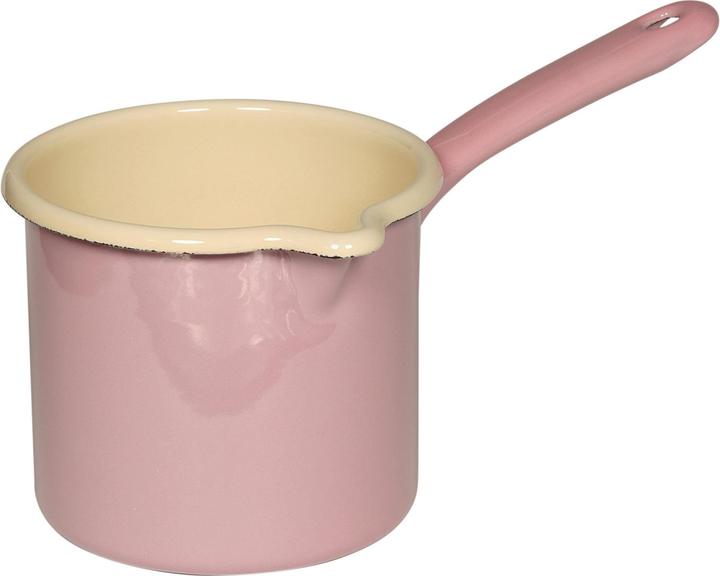
- a pot
- pink food colouring
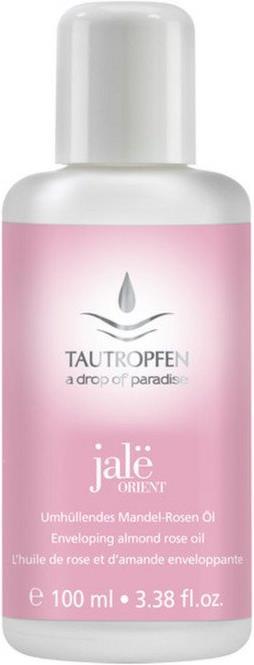
- rose oil
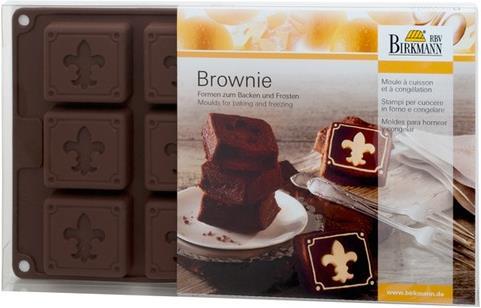
- Silicone baking mould
Margin note: 500 grams of glycerine soap is enough for ten whole bars of soap in the silicone mould I selected.
And this is how it's done:
Step 1: Cut the glycerine soap into small cubes and put them in the pot. It is best to use a milk pot with a spout. This makes it easier to fill later. You can find glycerine soap in any DIY or craft shop.

Step 2: Place the pot either in a water bath or directly on the cooker and melt the soap in it.
Step 3: Once the soap is liquid, you can add food colouring and rose oil to taste and then mix well. At this point, I recommend using liquid food colouring or soap colouring for a lump-free result. I personally used a pink food colouring in powder form for this experiment. This resulted in tiny dots in the soap as the powder didn't dissolve completely. Visually, this is a nice side effect, but it was not my intention. You can also play around with the amount of food colouring and create different shades of colour. However, too much of the product I used will colour your soap red and not pink. For the oil, I simply used a rose body oil that I already had at home.

Step 4: Now pour the still liquid soap into the silicone mould.

Step 5: To ensure that there are no air bubbles on the surface of the underside of the soap, you can spray it briefly with an alcohol spray after pouring the soap into the mould. I personally skipped this step as I like air bubbles.
Step 6: Then leave the whole thing to cool. I put the mould in the fridge straight away.
Step 7: Release the now solid soap blocks from the silicone mould.


If you want to get clean without any effort, you can also help yourself here:
You might also be interested in these articles:
As a massive Disney fan, I see the world through rose-tinted glasses. I worship series from the 90s and consider mermaids a religion. When I’m not dancing in glitter rain, I’m either hanging out at pyjama parties or sitting at my make-up table. P.S. I love you, bacon, garlic and onions.


