
Repairing defects in wood - how it's done
The longer I stay in my home, the more I notice its flaws. For example, larger scratches in wooden tables and floors. Time for some touch-up work with wood filler and hard wax.
I showed you how to repair small scratches in wood some time ago. All you needed was a walnut. For deeper scratches, simple household products are no longer enough. Nevertheless, you don't have to be a DIY expert to repair blemishes yourself. I try out two options: Wood filler and hard wax or touch-up putty.
Filling with filler
I took over my living room table from the corner shop with a few blemishes. The no longer quite so square edges and countless water stains make the furniture really exciting for me. And none of my guests have to use coasters. Recently, however, there has been a large hole in the wooden top. That's too much even for me. That's why I'm getting repair putty for wood.

First, I clean the area with a damp cloth and wait until it is dry again. Then I fill the hole with the compound using a spatula. The spatula can be a little smaller than the one in the picture. I struggle with the right filling method. I smooth everything out with a moistened spatula to create an even surface. Now I let everything dry thoroughly. I reckon it takes about an hour per millimetre of layered ceiling.


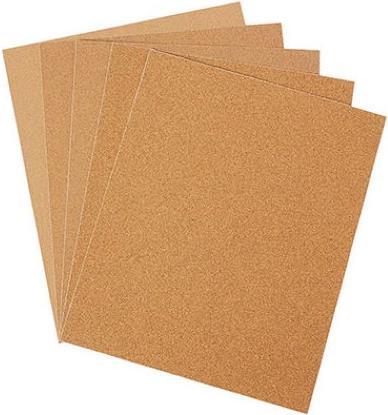
I use fine-grained sandpaper - no coarser than 180 grit - to level the area once more. This step also serves as preparation for painting. The levelling compound must be matched to the wood tone. The easiest way to do this would be to paint it. However, this is not possible with my table as it is varnished. The semi-transparent coating allows the grain to show through and thus maintains the natural look of the wood. However, the mass cannot be glazed properly, so I use a little trick and lightly paint the area with a brown coloured pencil before applying the glaze. Or I choose method number 2.

Hard waxing
Furniture is moved around on my laminate, heavy things are dropped and shoes are trampled over it. That leaves marks. As the top layer of the laminate is laminated, all repair options involving sanding and repainting fail.

For small, superficial scratches, you can rub olive oil over them a few times. For more extensive damage, use hard wax. This is available in different colours to match the tone of your floor or furniture as closely as possible. You will also need a soldering iron and a hard wax plane. However, you can also use a normal paint scraper if you are careful.


I use the plunger to heat the wax and carefully drip it onto the damaged area. Important: The lamination must be damaged, otherwise the wax will not hold. I then smooth the mass with the spatula to remove any excess material. After about 20 minutes, everything should be dry enough that the area can be finely polished or degreased with 00 steel wool. Finally, you can seal the surface with a clear varnish to make it resistant to dust and dirt.

Simply pimped up
This method is just as suitable for wooden furniture or parquet flooring. However, there are other ways to repair defects in wood. You can mix wood glue with sawdust and make your own repair compound. Or you can use pre-coloured two-component wood filler or putty. One thing is clear: in the vast majority of cases, you don't need a professional.
My life in a nutshell? On a quest to broaden my horizon. I love discovering and learning new skills and I see a chance to experience something new in everything – be it travelling, reading, cooking, movies or DIY.


