
Guide
Quickly made: DIY paper vase as a gift idea
by Pia Seidel

Do you have pretty plants but no pots? Then make your own - out of concrete. They literally fit like a glove.
I like plants. I especially like them in my home. Yet I hardly have any. It's all down to the pots. They're either far too expensive or far too ugly. But a woman of the world knows how to help herself and simply makes her own. Out of concrete. It's easy, quick and also looks chic. At least that's what I think as an advocate of rough elegance.
You don't need much for the DIY pot:
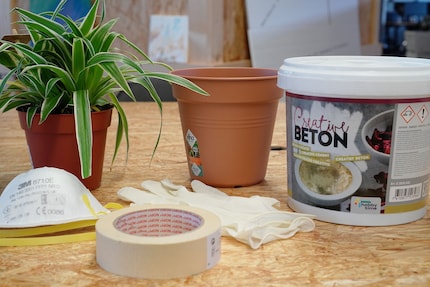
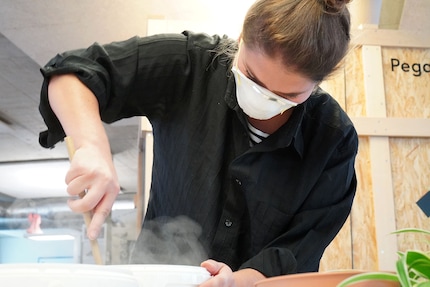
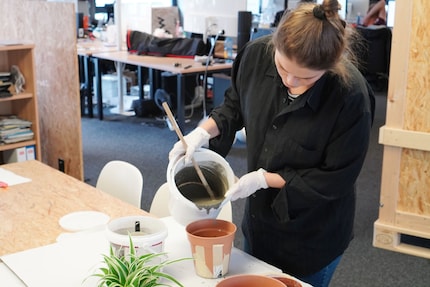
I used creative concrete for my pot, but only for lack of alternatives. This is because it costs around three times as much as standard concrete screed or cement. The way it works is the same: mix the powder with water. For the exact ratio, it's best to follow the instructions on the packaging. I use ten parts concrete to one part water. I gradually pour them into my mixing bucket and stir vigorously with my converted bamboo stick every now and then. Once everything is in there and has become a homogeneous mass, you can pour.
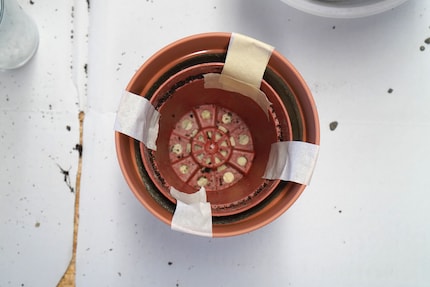
I chose two different plastic plant pots. As both are perforated at the bottom, I cover the holes with painter's tape. Then I put the concrete mixture into the larger of the two pots. If the amount is right for you, place the smaller pot in the centre and press it down as far as it will go. To ensure that the structure remains in the correct position, you need to weigh down the inner pot. As I couldn't find a suitable object in the office, I glued the pot down, which also works. Now it's time to move on to other things. Because the concrete has to dry thoroughly. In most cases, this takes 24 hours, but you can remove your pot from the mould earlier, as it doesn't need to be completely hardened for this step.
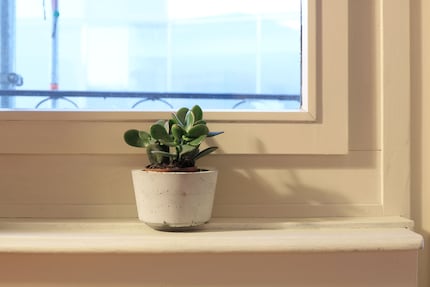
I try my luck the next morning. The inner pot is released fairly quickly, but I have problems with the outer pot. I pull and push on the plastic to loosen the walls, but it doesn't really do much. I'm about to cut the pot open when the concrete comes loose after a few taps on the floor. Fortunately, the thing has remained intact despite the free fall. I let it dry out completely and then look for a nice spot for the pot and plant. I find what I'm looking for on the windowsill; I like the look of it. This will definitely not be my last concrete pot.
I'll also be writing a few more articles, so quickly press the "Follow author">button and stay informed.
My life in a nutshell? On a quest to broaden my horizon. I love discovering and learning new skills and I see a chance to experience something new in everything – be it travelling, reading, cooking, movies or DIY.
Practical solutions for everyday problems with technology, household hacks and much more.
Show all